Last updated: October 22, 2026
Quick Answer: In Low-Sodium Cooking Methods for Seniors — The Complete Guide, the fastest way to keep meals flavorful is to use dry heat, acid, herbs, and texture instead of leaning on salt. Sodium can be reduced in everyday cooking without making meals bland, but the trick is to change the cooking method, not just the salt shaker. For many seniors, the real question is how to keep food satisfying when blood pressure, swelling, kidney disease, or a doctor’s sodium target means the usual “add a little salt” habit has to go.
Key Takeaways
- Dry heat, acid, herbs, and careful texture control do more for flavor than salt alone.
- The most reliable low-sodium meals often start with fresh, unseasoned ingredients and a few strong flavor builders.
- Packaged soups, bouillons, seasoning blends, cured meats, and jarred sauces are often the biggest sodium traps, so seniors should check labels and, when needed, confirm choices with a clinician or registered dietitian.
- Seniors often need softer textures, so low-sodium cooking should protect tenderness as well as taste.
- A “low-sodium” label does not always mean low enough; compare the Nutrition Facts panel, not the front of the box.
- This guide is practical, but anyone with heart failure, kidney disease, or a prescribed sodium limit should confirm goals with a clinician or registered dietitian.
What makes a low-sodium meal satisfying instead of flat?
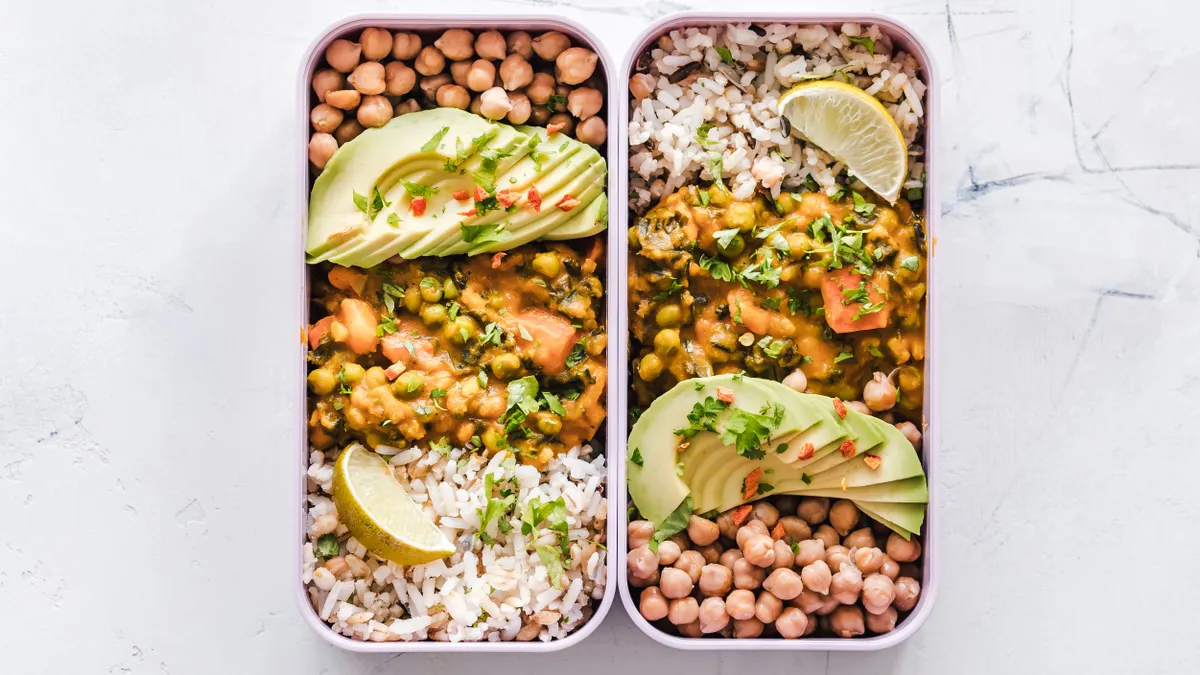
A satisfying low-sodium meal is built from browning, acidity, aromatics, and texture, not from salt alone. The first thing to understand is that salt is only one flavor tool; when it disappears, the other tools have to do the heavy lifting.
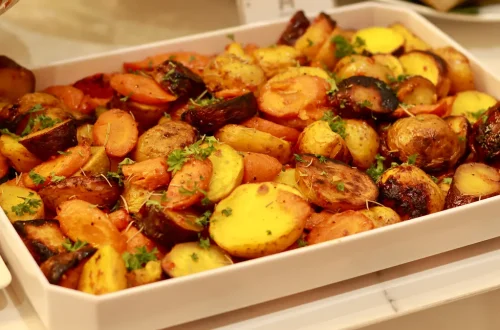
The biggest mistake is cooking everything softly in water and then wondering why it tastes like hospital food. A pan-seared chicken thigh, roasted carrots, and a spoon of lemony yogurt have more to offer the tongue than boiled chicken breast and plain carrots, even before you touch the salt shaker. The key here is the surface color — notice how browning on a skillet or roasting tray gives food a deeper, more savory smell. This is what separates a lively plate from one that tastes boiled.
A useful mental picture is this: a good low-sodium plate should still have at least three of these four elements:
- A browned or roasted component.
- A bright element, such as lemon, vinegar, or tomato.
- A fragrant element, such as garlic, onion, ginger, rosemary, thyme, or cumin.
- A textural contrast, such as crisp vegetables, tender grains, or creamy yogurt.
| Flavor builder | What it does | Good sign | Common mistake |
|---|---|---|---|
| Browning | Adds savory depth | Golden edges, not pale gray meat | Crowding the pan |
| Acid | Wakes up flavor | Food tastes brighter, not sour | Adding too much vinegar at the end |
| Herbs/spices | Replaces background saltiness | Aromatic smell before the first bite | Using dusty old blends |
| Texture | Keeps food interesting | Soft, crisp, and creamy in one meal | Overcooking everything to mush |
The figure that matters here is not a sodium number but a target of at least one bright ingredient and one browned element at each meal. That combination does more than most people expect.
Which cooking methods lower sodium without hurting flavor in senior meals?
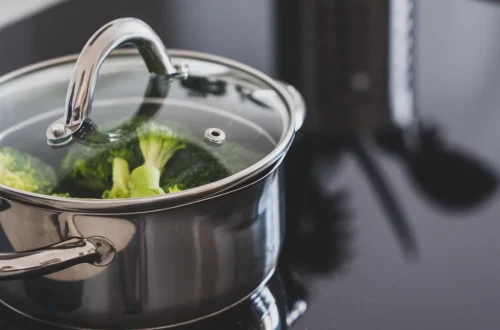
Dry-heat methods usually give the best low-sodium results because they build flavor without needing salty cooking liquid. Roasting, broiling, grilling, air frying, and pan-searing create browned edges and concentrated taste; steaming and poaching can still work, but they need stronger finishing flavors.
Here is the trade-off: the wetter the method, the more the food depends on broth, seasoning, or sauce to taste good. That does not mean steamed vegetables or poached fish are bad. It means they need a plan. A steamed green bean tossed with olive oil, lemon zest, and toasted almonds can be excellent. A steamed green bean served bare is not.
- Choose a dry-heat method first. Use roasting at 400°F, pan-searing over medium-high heat, or broiling on the upper rack. Check: you should see browning within the cooking time. Do not: simmer everything in salted water as the default.
- Cut food for even cooking. Slice vegetables to similar thickness and portion meat into even pieces. Check: the pieces finish at the same time. Do not: mix thin slices with thick chunks in one pan.
- Dry the surface before cooking. Pat meat, tofu, or vegetables dry with a towel. Check: the pan should sizzle, not steam. Do not: put wet food into oil and expect browning.
- Use enough fat to carry flavor. A teaspoon or two of olive oil can help herbs and garlic cling. Check: the food glistens lightly, not drenched. Do not: drown food in oil to compensate for missing salt.
- Finish with acid. Add lemon juice, vinegar, or a tomato-based sauce at the end. Check: the flavor lifts immediately. Do not: boil acid for a long time if the goal is a fresh finish.
- Rest and taste before adding salt. Let meats rest 5 to 10 minutes and taste vegetables before seasoning more. Check: flavors settle and intensify slightly. Do not: salt by reflex before tasting.
A good low-sodium cook watches for visible color. Golden onions, browned chicken skin, caramelized Brussels sprouts, and blistered peppers all signal flavor that did not come from sodium. A pale tray of vegetables, by contrast, is the visual warning that the meal may taste thin even if it is technically seasoned.
How do I season food without relying on salt in Low-Sodium Cooking Methods for Seniors?
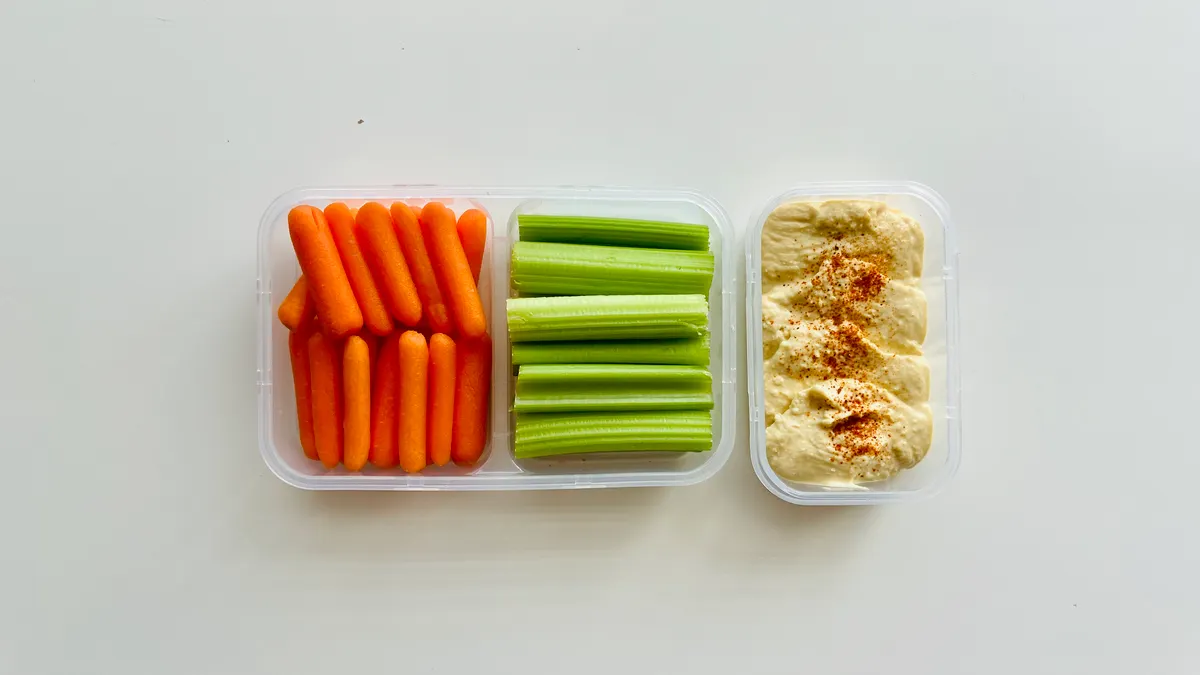
You season low-sodium food by building layers: aromatics first, spices second, acid last, and fresh herbs at the finish. That order matters because each layer behaves differently in heat, and the sequence changes the final taste.
A generic seasoning mix can help, but many commercial blends contain salt as the first or second ingredient. Read the label and look for blends built around garlic powder, onion powder, paprika, black pepper, cumin, dill, oregano, rosemary, or turmeric without salt added. A salt-free blend is not automatically good, though; old spice blends lose punch, and stale paprika tastes dusty rather than warm.
The visual cue here is color. A pan that carries garlic, paprika, turmeric, or curry powder should have a warm tint, not a dull beige cast. That color is not decoration; it usually means the seasoning had time to bloom in oil or on dry heat.
| Ingredient | Best use | What it adds | Watch out for |
|---|---|---|---|
| Garlic | Sauté, roast, dressings | Savory depth | Burning in a hot pan |
| Onion | Base for soups, stews, skillet meals | Sweetness and body | Rushing the softening stage |
| Lemon juice | Finishing vegetables, fish, beans | Brightness | Too much acidity masking food |
| Vinegar | Pickles, slaws, pan sauces | Sharp lift | Harsh taste if overused |
| Rosemary/thyme | Roasts, poultry, beans | Woodsy aroma | Using too much dried herb |
| Cumin/paprika | Beans, eggs, vegetables | Warmth and color | Old spices with no aroma |
- Start with aromatics. Cook onion, garlic, scallion, celery, or fennel in a little oil over medium heat. Check: the vegetables should soften and smell sweet. Do not: let garlic turn dark brown.
- Add dry spices to fat. Stir in cumin, paprika, curry powder, or black pepper for 20 to 30 seconds. Check: the fragrance should bloom immediately. Do not: dump spices into watery food and expect the same effect.
- Use acid in two stages. Cook tomatoes or vinegar into the dish if needed, then finish with lemon or a splash of vinegar right before serving. Check: the final taste should feel brighter. Do not: rely on acid alone to replace every missing flavor.
- Add fresh herbs at the end. Parsley, dill, cilantro, basil, or chives should go in during the last minute or two. Check: they look fresh and green. Do not: bury delicate herbs under long cooking.
- Use umami-rich foods carefully. Mushrooms, tomatoes, Parmesan in small amounts, and miso can help, but many are salty. Check: the label or recipe amount should fit the sodium goal. Do not: assume “savory” means “low sodium.”
- Taste after every layer. Adjust in small steps. Check: the food should gain depth without getting salty. Do not: chase flavor with repeated pinches of salt.
For seniors, this matters because appetite can fade with age. A meal that smells good before the first bite tends to be eaten more willingly. That is one reason a skillet of onions, garlic, and peppers often succeeds where a plain baked entrée fails.
Which ingredients quietly add the most sodium?
Packaged breaded items, processed meats, canned soups, instant noodles, bouillon, jarred sauces, cheese-heavy casseroles, and brined condiments often carry the most sodium in a senior’s kitchen. These are the ingredients that make a low-sodium plan fall apart even when the cook barely reaches for the salt shaker.
This section is worth reading twice because the label can fool people. A can of soup may look harmless until the Nutrition Facts panel reveals a large serving with a hefty sodium load. A slice of deli turkey can be a bigger sodium hit than a homemade roast turkey slice because curing and brining do the work of flavor and preservation. A spoon of bouillon paste, a splash of soy sauce, or a packet seasoning mix can push a meal far beyond what the cook intended.
The visual clue is this: if a food is shelf-stable, cured, instant, or “ready in 5 minutes,” it is often hiding sodium somewhere in the ingredient list or nutrition panel, so seniors should check labels and, if they have a medical sodium limit, confirm choices with a clinician or registered dietitian. That does not make it forbidden, but it does make it a food to measure, not pour freely.
| Common item | Why it is risky | Lower-sodium swap |
|---|---|---|
| Bouillon cubes | Highly concentrated salt | Unsalted stock, herbs, mushroom broth |
| Canned soup | Large serving size, salty base | Low-sodium soup plus extra vegetables |
| Deli meat | Curing and brining | Roast meat sliced at home |
| Soy sauce | Very salty even in small amounts | Low-sodium soy sauce, used sparingly |
| Jarred pasta sauce | Hidden salt in a familiar food | No-salt-added tomatoes with herbs |
| Frozen meals | Multiple sodium-heavy components | Build meals from plain frozen vegetables and cooked grain |
- Read the serving size first. Compare the sodium number to the portion you actually eat. Check: the serving size matches your bowl, not a tiny fraction of it. Do not: assume the front label tells the whole story.
- Scan for obvious sodium sources. Look for salt, sodium bicarbonate, sodium phosphate, monosodium glutamate, bouillon, brine, and soy sauce. Check: the list is short enough to understand. Do not: ignore ingredient names that signal salt in another form.
- Replace one packaged item at a time. Swap the broth, then the seasoning mix, then the deli meat. Check: flavor remains acceptable after each change. Do not: overhaul the whole kitchen in one day and quit from frustration.
- Use no-salt-added versions where possible. Tomatoes, beans, and broths often have these options. Check: the flavor is still usable with herbs and acid. Do not: assume no-salt-added means bland forever.
- Measure condiments. Use a teaspoon, not a free pour. Check: the amount is visible on the spoon. Do not: drizzle from the bottle straight into the pan.
- Cook from plain building blocks. Plain rice, oats, potatoes, eggs, vegetables, and fresh meats are the cleanest starting point. Check: the meal can be seasoned your way. Do not: let convenience foods set the sodium ceiling for the day.
A useful rule of thumb is simple: if the ingredient is designed to taste ready-made, it probably needs scrutiny. That scrutiny is the difference between a genuinely low-sodium plate and a meal that only looks homemade.
How should seniors cook vegetables, proteins, and grains differently?
Seniors should cook food to tenderness without crossing into mush, dryness, or dullness, and that means adjusting heat, cut size, and finishing time. The goal is easy chewing and swallowing, not overcooked food that has lost its shape.
This is where low-sodium cooking often goes wrong. A cook removes salt, worries about seasoning, and then overcooks everything to keep it “safe” or “soft.” The result is limp carrots, chalky chicken, and rice that clumps into a paste. The better answer is to choose the right shape and method for each food.
The visual standard is easy to see. Vegetables should still hold edges. Chicken should be opaque but juicy, not stringy. Fish should flake cleanly with a fork. Grains should be separate unless the dish is meant to be creamy, like oatmeal or risotto-style rice.
| Food | Better method | Visual target | Common error |
|---|---|---|---|
| Carrots | Roasting or steaming, then glazing lightly | Tender with a little edge color | Boiling until waterlogged |
| Green beans | Sautéing or steaming briefly | Bright green, still snappy | Overcooking to olive green |
| Chicken breast | Poaching gently or roasting | Opaque, moist slices | Cooking until dry and fibrous |
| Fish | Baking or pan-searing | Flakes into large pieces | Breaking apart from rough handling |
| Beans | Simmering from dry, or rinsing canned beans | Intact beans with soft centers | Using salted can liquid |
| Rice/oats | Simmering in measured water | Distinct grains or creamy texture | Adding too much water and salt |
- Match the method to the texture goal. Choose steaming for tenderness, roasting for flavor, or simmering for beans and grains. Check: the food looks appropriate for the person eating it. Do not: use the same method for every ingredient.
- Cut to reduce cooking time. Slice carrots thinner, trim chicken into even pieces, and split larger vegetables. Check: the food cooks before it dries out. Do not: leave huge chunks that force longer heat exposure.
- Use a thermometer for meat when possible. For poultry and other meats, a thermometer gives a clearer signal than guessing. Check: the center reaches a safe temperature per current food safety guidance. Do not: cut into meat repeatedly and let juices run out.
- Stop vegetables while they still have structure. Pull them when a fork meets light resistance. Check: color remains vivid. Do not: wait until they collapse.
- Rinse canned beans and vegetables. Drain and rinse under cool water for about 10 to 15 seconds. Check: the cloudy liquid is gone. Do not: cook directly in the salty can liquid.
- Finish with a small sauce, not a flood. Use a spoonful of yogurt sauce, salsa, vinaigrette, or herb oil. Check: the plate looks lightly dressed. Do not: drown the food and hide the texture you worked for.
Soft food does not have to be dull food. A plate of tender roasted squash, flaky fish, and herbed rice can be gentle to chew and still taste complete. That is the standard worth aiming for.
What does a low-sodium pantry for seniors actually look like?
A practical low-sodium pantry is built around plain staples, unsalted seasonings, and a few acids and herbs that can rescue blandness fast. It does not need to be elaborate, expensive, or full of specialty products.
The mistake is stocking too many “diet” items and too few real ingredients. A shelf full of low-sodium crackers, soup mixes, and substitutes still leaves the cook dependent on packaged food. A better pantry starts with rice, oats, pasta, dried beans, canned no-salt-added tomatoes, olive oil, vinegar, garlic, onions, pepper, cumin, paprika, and a few frozen vegetables.
This is the section where visual order matters. A useful pantry has clear jars and ingredients grouped by use: grains together, spices together, acids together. The point is not aesthetics. The point is that a senior cook, or anyone helping one, can assemble dinner in minutes without reaching for the salt-heavy convenience aisle.
| Pantry item | Why it earns a place | Typical use |
|---|---|---|
| Olive oil | Carries flavor and helps browning | Roasting, sautéing, dressings |
| Garlic/onion | Strong flavor base | Soups, vegetables, grains |
| Vinegar/lemon juice | Brightens finished dishes | Salads, sauces, beans |
| No-salt-added tomatoes | Versatile, low-sodium base | Pasta sauce, stew, braises |
| Plain rice/oats | Neutral staples | Bowls, breakfast, side dishes |
| Unsalted nuts/seeds | Crunch and richness | Toppings, salads, oatmeal |
- Clear out obvious sodium traps. Move bouillon, seasoning packets, and salty sauces to the back or out of routine use. Check: the first shelf holds the foods you want to use most. Do not: keep salty shortcuts at eye level.
- Stock at least two acids. Keep one citrus option and one vinegar. Check: both are easy to reach at the stove. Do not: rely on salt to finish every dish.
- Keep one salt-free spice blend. Choose a blend with a short ingredient list. Check: it smells vivid when opened. Do not: buy a blend because the front label looks healthy.
- Use freezer space well. Freeze chopped onions, peppers, cooked beans, and plain cooked grains in portions. Check: portions thaw in a single meal. Do not: freeze everything in one giant block.
- Label containers clearly. Mark the date and contents on each jar or bin. Check: nothing becomes mystery food. Do not: leave dried herbs unlabeled until they go stale.
- Review the pantry every month. Check for stale spices and expired canned goods. Check: the pantry still supports quick cooking. Do not: let old inventory quietly control the menu.
This is not the place for perfectionism. It is the place for repeatable meals. The best pantry is the one that makes a low-sodium dinner possible on a tired Tuesday at 5:30 p.m.
Can I make familiar comfort foods lower in sodium?
Yes, familiar comfort foods can be lowered in sodium if you swap the high-salt building blocks instead of stripping out the dish entirely. Mac and cheese, soup, chili, casseroles, and roasted chicken all have low-sodium versions that still feel like the original meal.
This is where many cooks either give up or go too far. They either keep the salty original or turn the dish into something “healthy” that no one wants to eat. The better path is selective replacement. Use unsalted butter, reduced-sodium cheese in a measured amount, no-salt-added tomatoes, homemade seasoning, and plain stock. A comfort food should still look like comfort food: creamy where it should be creamy, browned where it should be browned, and aromatic where it should smell inviting.
The visual test is simple. A good lower-sodium casserole should still have a browned top, a creamy center, and visible ingredients rather than a uniform paste. A soup should have distinct vegetables and a clear aroma of herbs and onion, not a salty haze.
- Keep the structure of the original dish. Preserve the pasta shape, bean base, or roasted topping. Check: it still reads as the same meal. Do not: rebuild the dish from scratch into something unfamiliar.
- Reduce salty ingredients by function, not habit. Cut back on cheese, cured meat, bouillon, or bottled sauce. Check: the dish still has body from other ingredients. Do not: remove every rich ingredient and expect satisfaction.
- Replace broth with flavor layers. Use onion, garlic, celery, carrots, herbs, and tomatoes. Check: the pot smells full even before simmering ends. Do not: count on plain water plus salt substitute alone.
- Brown the top or edges when the dish allows it. Bake until the top colors. Check: the surface has visible golden patches. Do not: serve pale casseroles that look unfinished.
- Serve with a bright side. Add salad, fruit, or vinegar-based slaw. Check: the plate has contrast. Do not: make every item heavy and soft.
- Taste after resting. Wait 5 minutes before judging the seasoning. Check: flavors settle and become clearer. Do not: fix everything with extra salt while it is still too hot to taste accurately.
Who this is not for: anyone trying to keep a favorite restaurant dish identical while cutting sodium dramatically. That rarely works. The sodium has to come from somewhere, and in many comfort foods it is carrying both preservation and flavor. The better goal is a close, satisfying home version.
What should I ask a doctor or dietitian before changing sodium intake?
You should ask for a personal sodium target, medication guidance, and any restrictions related to heart failure, kidney disease, or fluid balance before making major changes. A blanket “eat less salt” rule is too vague for many seniors.
The reason is simple: sodium advice changes with the condition. Some people need strong limits; others need more careful balancing because of dizziness, appetite loss, or certain medications. If the senior uses diuretics, has chronic kidney disease, or has been told to manage fluid retention, the sodium plan should be individual rather than generic. For that reason, this section belongs in a practical cooking guide even though it sounds clinical.
A good conversation is specific. Ask about a daily sodium target, whether salt substitutes are safe, whether canned foods should be avoided completely, and whether protein or potassium changes matter. The clinician may point to a registered dietitian, which is often the best person to translate a medical limit into actual meals.
For reference, organizations such as the American Heart Association and the National Kidney Foundation publish patient guidance on sodium and chronic disease management; their current pages are worth consulting for condition-specific advice.
- Bring a food list to the appointment. Include favorite breakfast, lunch, dinner, and snack foods. Check: the list shows real habits, not ideal ones. Do not: ask in vague terms like “What should I eat?”
- Ask for a number, not a slogan. Request the daily sodium goal in milligrams if appropriate. Check: the target is written down. Do not: rely on memory alone.
- Ask about salt substitutes. Some contain potassium chloride, which is not suitable for everyone. Check: you understand whether they are safe. Do not: assume a salt substitute is automatically harmless.
- Review canned, frozen, and packaged foods specifically. Ask which labels or products fit the plan. Check: the advice applies to real grocery items. Do not: leave with only general warnings.
- Discuss appetite and chewing issues. Mention dentures, dry mouth, or trouble swallowing. Check: the plan still leaves food enjoyable enough to eat. Do not: ignore texture if it limits intake.
- Confirm follow-up. Ask when to reassess the plan. Check: there is a next step. Do not: treat one conversation as permanent guidance.
The best low-sodium plan is one the senior can actually follow for months. That means the cooking method, the pantry, and the medical advice all have to fit together. If they do, the food can stay flavorful, safe, and worth eating without pretending salt is the only thing that makes dinner taste like dinner.
How can I start tomorrow without overhauling everything?
Start tomorrow by changing one cooking method, one seasoning habit, and one packaged food, not the whole kitchen. A 7-day reset works better than an all-or-nothing makeover because it gives the palate time to adjust.
A practical first week might look like this: roast vegetables instead of boiling them on day one, replace one salty sauce with lemon and herbs on day two, switch one soup or broth to a no-salt-added version on day three, and rinse canned beans before using them on day four. By the end of the week, the kitchen will already feel different without needing a new identity.
The visual marker of progress is easy to spot. The plate should gain color, shape, and aroma even as the sodium drops. That means golden onions instead of gray ones, bright vegetables instead of faded ones, and a finish of acid or herbs where salt used to do all the work.
- Pick one dinner to rework. Choose a meal already in rotation. Check: it is familiar enough to change safely. Do not: start with the hardest recipe in the house.
- Change the cooking method. Roast, sear, or broil instead of boiling or simmering where possible. Check: the food browns. Do not: keep the same method and expect a better result.
- Swap one seasoning habit. Replace a shake of salt with lemon, vinegar, garlic, or herbs. Check: the dish still tastes complete. Do not: remove flavor without replacing it.
- Replace one packaged item. Choose a broth, sauce, or soup with a lower-sodium version. Check: the meal still works. Do not: change everything at once.
- Repeat the best change. Keep the easiest win and apply it to the next meal. Check: the routine feels manageable. Do not: wait for perfect conditions.
- Review the week. Notice which meals were satisfying. Check: you have a short list of keepers. Do not: judge the whole plan from one off day.
Even small changes add up when they are repeated. That is why Low-Sodium Cooking Methods for Seniors — The Complete Guide works best as a series of practical swaps, not a complete reinvention of the kitchen.
Drafted with AI; not yet reviewed by a person.